![Move4U.png]](https://support.move4u.com/hs-fs/hubfs/Move4U.png?height=30&name=Move4U.png)
Step 1: Select the item(s)
- Open your Inventory List.
- Go to the Inventory List tab (the second tab).
- Locate the item(s) you want to update.
- On the left side of the Sticker Number, click the checkbox to select one or more items.
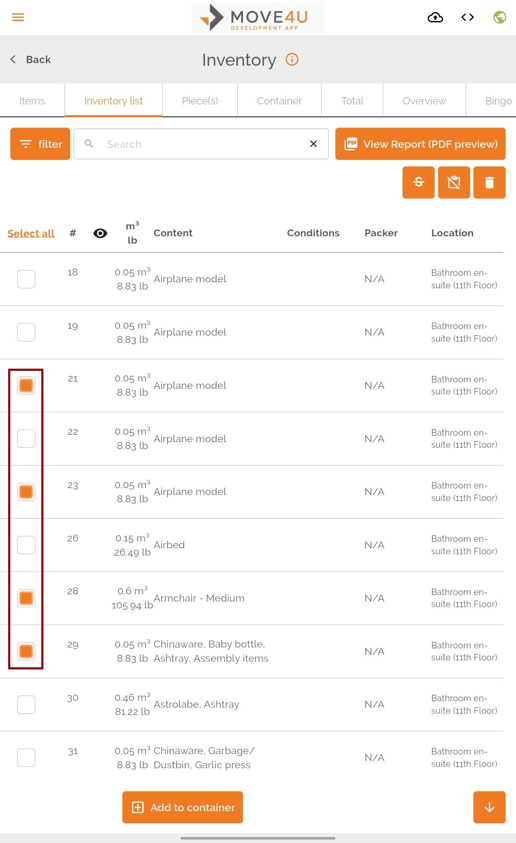
Once you've selected the item(s), additional options will appear in the upper-right corner of the screen.
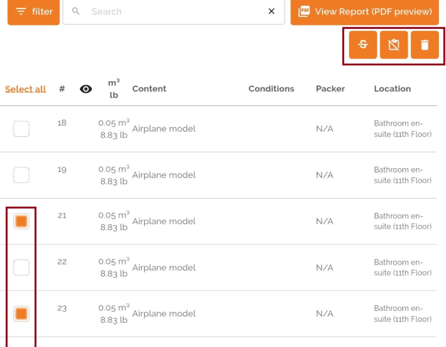
Step 2: Choose the desired action
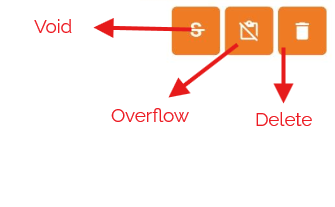
1. Mark an item as Void
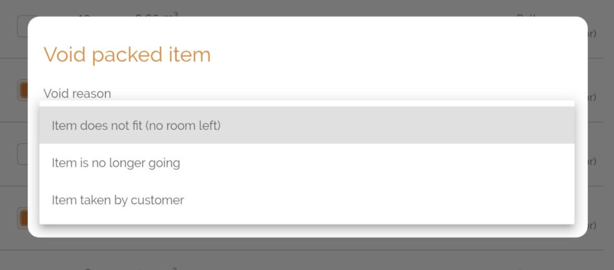
Click the Void icon (an S with a slash through it). A drop-down menu will appear. Select the appropriate reason, then click OK to confirm.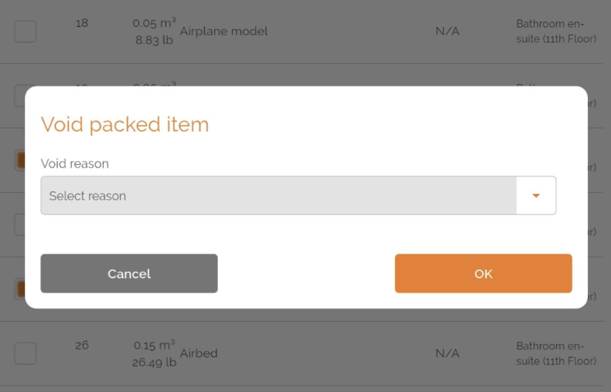
2. Mark an item as Overflow
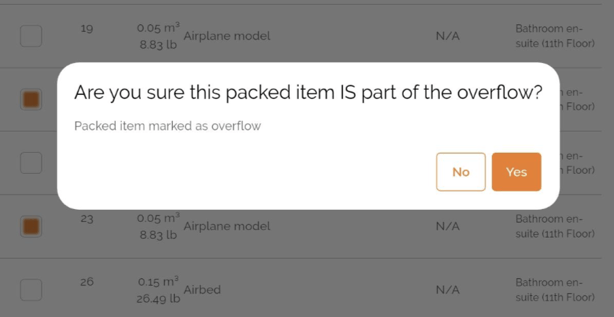
Click the Overflow icon (an inventory sheet with a slash through it). The selected item(s) will be marked as Overflow.
3. Delete an item
Click the Delete icon (the trash can) to permanently remove the selected item(s).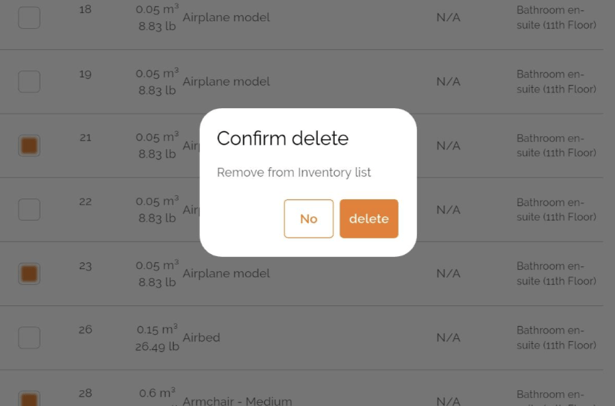
How to identify Void and Overflow items
Items marked as Void or Overflow will appear crossed out in the Inventory List, making them easy to identify.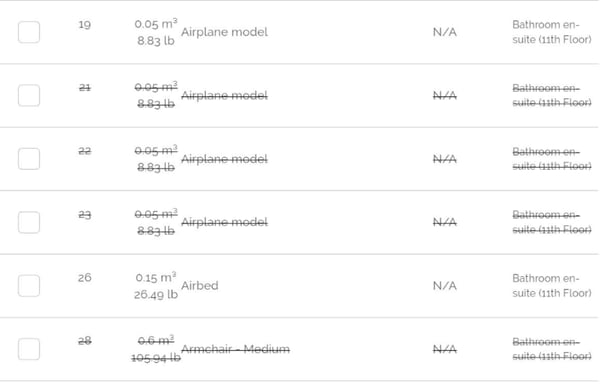
Undo a Void or Overflow status
If you marked an item as Void or Overflow by mistake:
1. Select the item again by clicking the checkbox to the left of the item.
2. The available actions will appear in the upper-right corner.
3. Click Cancel Void to restore a voided item, or Remove from Overflow to remove the Overflow status.
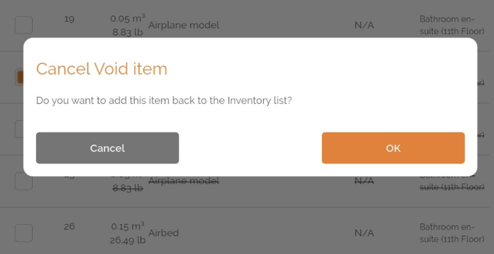
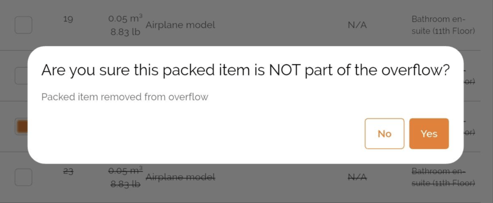
The item will return to its normal state in the Inventory List.